Retrofit Fluorescent Tube Light to LED Tube Light
Instructions for tube lights purchased from http://m4led.com
These Instructions are for one of the most
common T8 Tube Lights on the market.
Your fixture may be different, and the wire colors may be different. The basic wiring concept will be the same,
you will essentially be rewiring the fixture to supply power to one end of each
tube, and ground the other end of each tube.
For more examples, and shorter generic instructions for T8 lights, please go to our Resource Center at http://m4sales.com
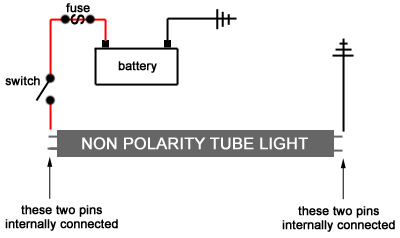
PRODUCT NOTES: The tube lights we sell are different than other 12v LED retrofit lights on the market because ours use the natural pins on the bulb and fixture to supply power to the LED light. This gives a cleaner appearance since there are no wires protruding from the side of the tube light that can be seen dangling from the fixture. Our tube lights also have a frosted cover so you cannot see the individual LED lights when looking at the fixture. These tubes are Non-Polarity, so it does not matter which end is positive and which end is grounded. At one end of the tube, the two pins are internally jumped together. At the other end of the tube, those two pins are jumped together, so you only need to connect a wire to one pin on each end of the tube.
CAUTION: THESE ARE FOR 12 VOLT DC APPLICATIONS ONLY. Serious Injury and Damage may occur if you try to install these into 110-120v AC Household Current.
DISCLAIMER: To install these retrofit lights, you will be altering the wiring in your fixture to bypass or remove the Fluorescent Ballast as it is no longer necessary. You will be cutting and splicing wires that will void your warranty on your original light fixture. Though this is an easy rewire, if you are not comfortable with basic wiring, please seek a professional’s assistance. M4 shall not be accountable for any damage to the existing light fixture or damage caused by shorts, loose wires, or mis-wiring. If you do not want to alter your light fixture, STOP NOW.
These instructions are for a typical RV 12v Fluorescent Light Fixture with two 18" T8 bulbs. Your fixture may appear different, but the general instructions will be the same.
|
|
The circuit simplified. One end of the tube light needs a positive power supplied, the other side ground. At each end, the two pins are connected, so you only need a wire connected to one pin at each end. |
|
|
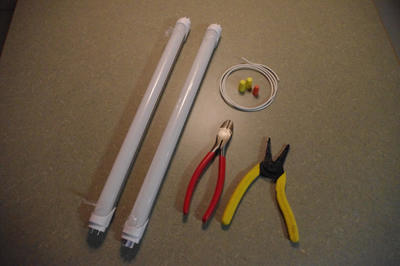
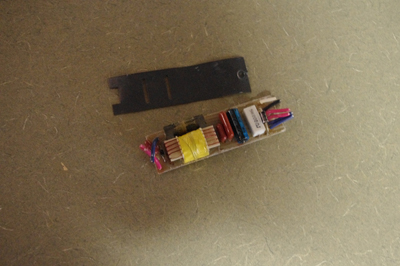
Included with the light(s) are wire nuts, some wire that may or may not be needed, and a LED retrofit label. Tools you will need are wire cutters, wire strippers, and possibly screwdrivers depending on your fixture. |
|
|
Remove the lens cover. |
|
|
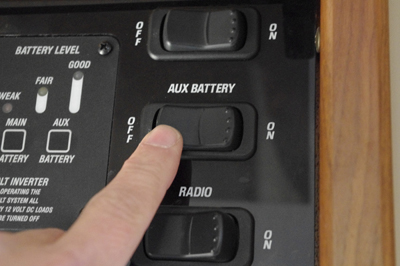
Ensure this is a 12v DC fixture. |
|
|
Turn off the main power to the fixture. Ensure the lights will not illuminate before proceeding. |
|
|
Remove the tubes. Some tubes pull straight down, others need to be rotated 90 degrees and then pulled down.
STOP: Before proceeding, test fit the new LED tube lights in your fixture with the fixture diffuser cover on. Do not turn power on to the fixture when test fitting. Remove the new LED lights.
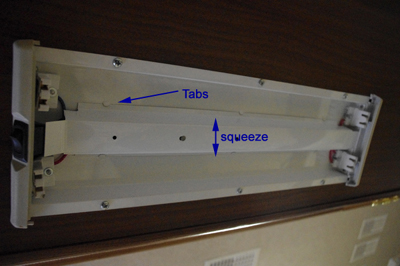
Remove the ballast and wiring protective shield. |
|
|
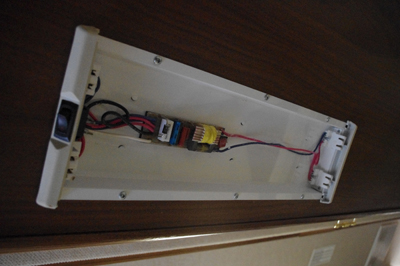
You can now see the ballast and wiring. |
|
|
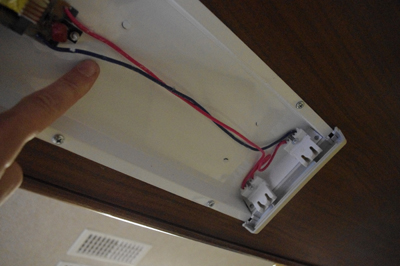
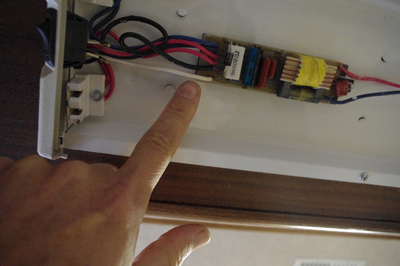
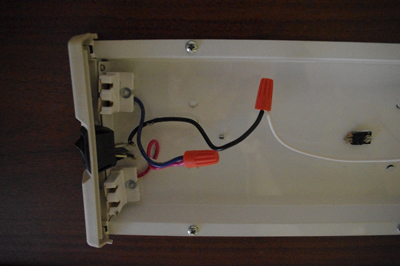
Sockets "A" Two wires go to one end of the fixture. Disregard the colors of the wires on the retrofit, it is only important where the wires will be connected. On this fixture, the red wire goes to one socket, and another red wire jumps the two sockets together. The black wire is redundant and can be removed. If there is no jumper, you will need both wires. The goal is to have these two ends wired together. |
|
|
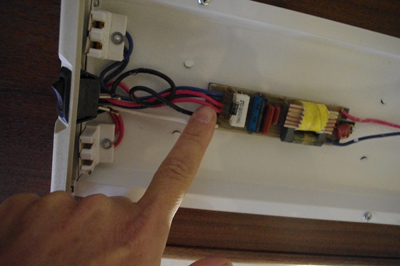
This is where the 12 volt power and ground come into the fixture after the switch. |
|
|
These 4 wires go to the sockets on the opposite side of the fixture (Sockets "B"). You do not need all four wires, you just need two of these wires or one if the two sockets are jumped together. |
|
|
Cut the wires to Sockets "A" |
|
|
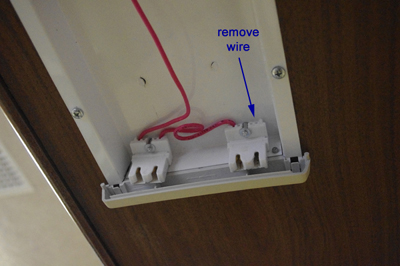
As mentioned above, since there is a red jumper between both Sockets "A", the black wire on this fixture can be eliminated. To remove the wire in this type of socket, twist and pull on the wire until it comes loose. If for any reason a wire comes out that should not have, the wire can be reconnected by pushing it back into the socket. These are push clips. Lightly pull to ensure you have a good connection. |
|
|
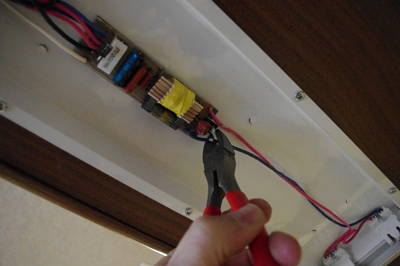
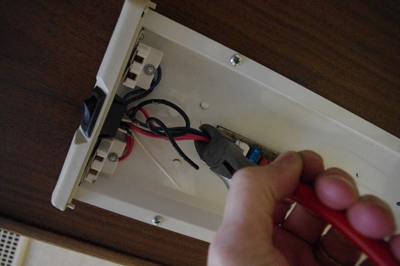
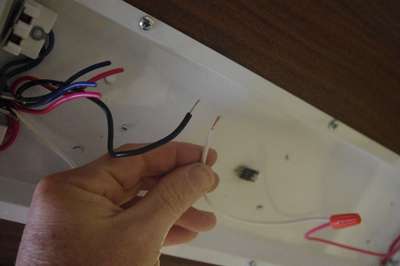
Cut the incoming power and ground wires at the ballast. These will be your power and ground feeds to the new LED lights. |
|
|
Cut the wires that go to Sockets "B". You may remove any extra wires, you only need one wire to each socket as described above. |
|
|
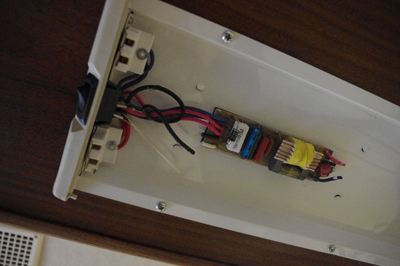
At this point, you may either leave the ballast in the fixture unconnected, or you may remove it. We chose to remove it for a cleaner looking installation. |
|
|
Here is where the black wire was removed from Sockets "A". |
|
|
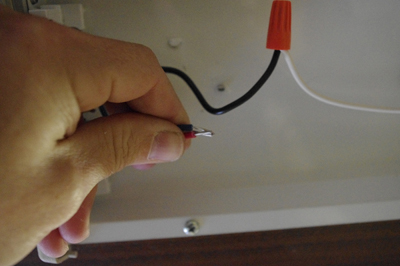
The wire from Sockets "A" may be connected to either the incoming ground or power lead. We chose to connect it to the power wire from the switch (black wire on this model). You may or may not need to extend this wire to reach the ground lead. We needed to extend it with the extra wire supplied (white wire). Strip both wires as shown. |
|
|
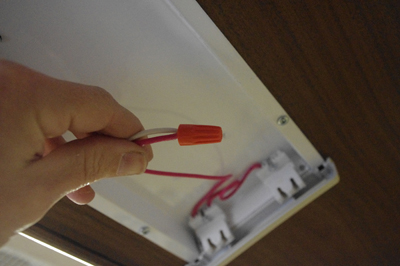
Wire nut the wires together. |
|
|
Cut to length and strip the other end. |
|
|
And wire nut it to the ground black power wire coming from the switch. |
|
|
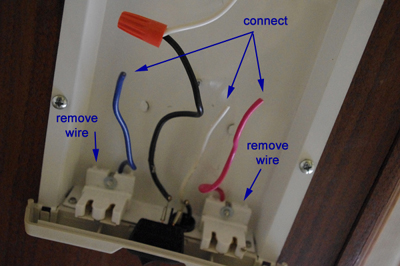
Moving on to Sockets "B", you can see we removed redundant wires to the sockets. In this photo, the blue wires come from the socket, and the white (ground) wire comes from the coach. |
|
|
Strip all three wires. |
|
|
And wire nut them together. (Red, Blue, and White in this fixture) |
|
|
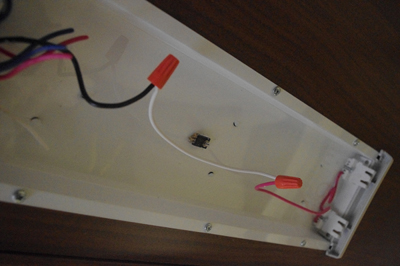
That’s it for the rewiring to this fixture. |
|
|
Though we choose to give you a lot of pictures and steps above, you can see that the result is a very simple and clean wiring circuit. |
|
|
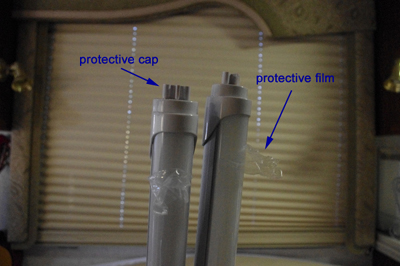
Remove the protective caps and protective film from the new LED tube lights. |
|
|
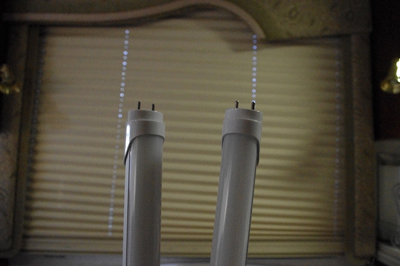
Protective caps and film removed. |
|
|
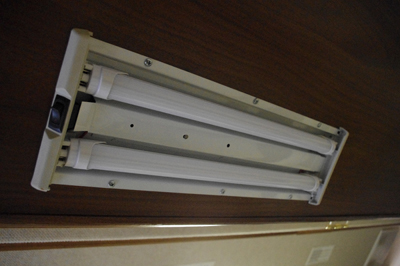
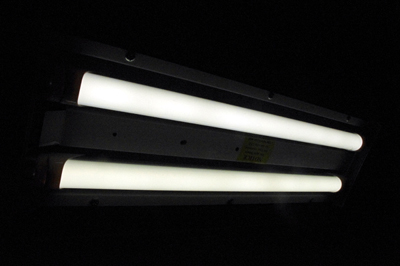
And install them in the fixture. Again, they are non-polarity so it does not matter which direction they go in. |
|
|
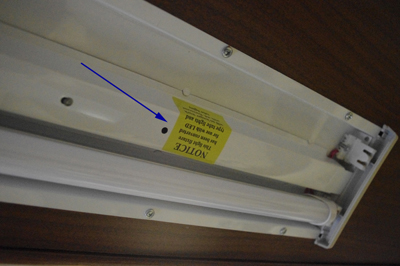
Affix the Notice sticker somewhere inside the fixture to alert anyone that the fixture has been converted to LED. |
|
|
Turn on the main power and test the lights. |
|
|
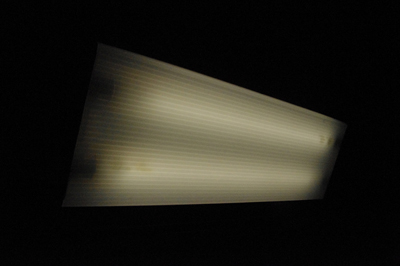
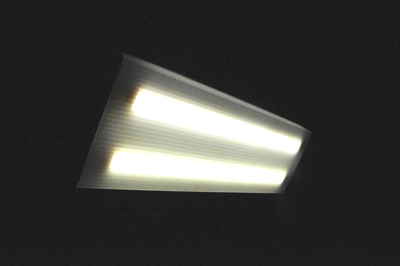
Enjoy your new LED tube lights. You will now have brighter light while using only a fraction of the power when boon docking! |
|
|
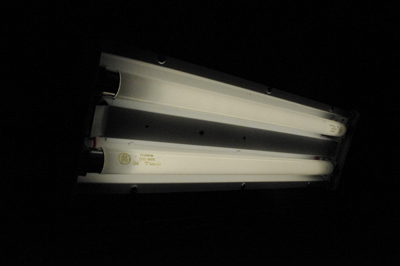
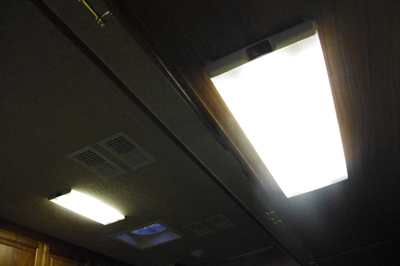
Foreground is LED, Background is Fluorescent. |